Reviewed · NEW YORK CITY
Midtown NYC Photo Safari
Midtown NYC looks different when someone shows you how to see it. This Midtown NYC Photo Safari is a 3-hour, photo-first walk through iconic streets where the goal is practical: better framing, smarter settings, and photos that actually look like you meant to take them. I love how focused it is on hands-on help, and I also like the small-group setup that makes it easier to get real feedback. The main consideration is simple: you’ll be walking and photographing outdoors, so a day with decent weather matters.
One of the most useful parts is the attention to tricky moments, like photographing moving subjects in a city that never holds still. You’ll practice ideas for capturing action such as a subway train, plus you get guidance for classic Midtown photo targets like Rockefeller Center (and the Christmas tree) and other famous views. If you’re hoping for lots of “sit down and talk” time, this isn’t that kind of tour.
In This Review
- Key highlights to expect on this Midtown NYC Photo Safari
- The photo skills you’ll use right away
- Where the tour starts (and how the route shapes your photos)
- Radio City Music Hall: framing big Midtown shapes
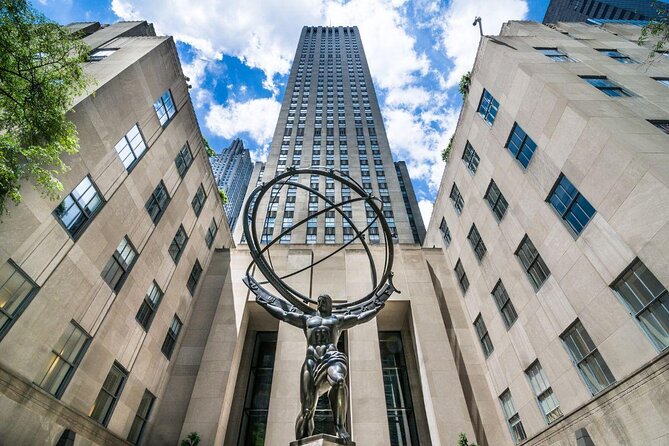
- Rockefeller Center: the Midtown classic you can’t fake
- Rockefeller Center Christmas Tree: one subject, many looks
- Central Park: building depth when buildings crowd the scene
- Capturing motion in NYC, including subway trains
- Group size, walking pace, and getting real feedback
- What’s included in the $125 price (and why it can be worth it)
- Who this Midtown photo safari is best for
- Practical tips so you get the most from the workshop
- Should you book this Midtown NYC Photo Safari?
- FAQ
- How long is the Midtown NYC Photo Safari?
- Where does the tour start and end?
- How many people are in the group?
- What landmarks will I photograph on the tour?
- What is included in the ticket price?
- Do I need private transportation?
- Will I get tips for taking photos of moving subjects?
- Is the tour taught for phones as well as cameras?
- What happens if the weather is bad?
- What is the cancellation policy?
Key highlights to expect on this Midtown NYC Photo Safari
- Small group (max 8) for easier, personalized guidance while you shoot
- Pro photographer instructor with practical tips you can apply immediately
- Hands-on landmark practice around Midtown icons and Central Park
- Motion photography lessons, including how to handle a moving subway train
- Subway included once, which saves money and helps the tour cover action shots
- Mobile ticket and a start point that’s easy to reach by public transit
Not sold yet? Here is how this one lines up against other New York City picks:
- NYC: SUMMIT One Vanderbilt Tickets
★ 4.7 · 51,195 reviews - NYC: Empire State Building Tickets – Observatory & Museum
★ 4.7 · 25,757 reviews - New York City: Statue of Liberty & Ellis Island with Ferry
★ 4.6 · 18,683 reviews - New York City: American Museum of Natural History Ticket
★ 4.5 · 15,447 reviews
The photo skills you’ll use right away
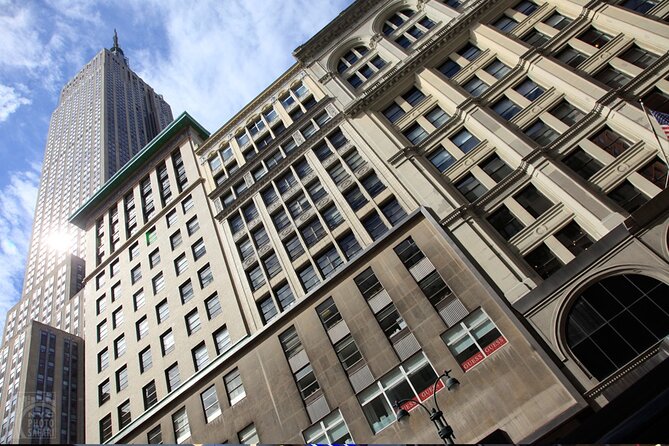
This is a photography workshop disguised as a walk through Midtown. The big value isn’t “learning NYC trivia.” It’s learning how to control what your camera (or phone) does—so you can repeat the results later when you’re back in your hotel.
The instructor-led approach matters because you’re not guessing alone. You’ll get tips on composition (how to place a subject in the frame), plus guidance on camera use that helps your images look intentional instead of accidental. If you’ve ever taken 50 photos that all look the same, you’ll get a plan for how to change that fast.
A second high-value element is the focus on what’s hard in New York: motion, reflective surfaces, and bright signage. From the coaching you’ll hear about capturing things like subway activity and neon-style details, the goal is to help you slow down and make choices instead of spraying shots.
Where the tour starts (and how the route shapes your photos)
You meet at 180 Madison Ave, and the tour ends back at the same place. That “loop back” structure is helpful: it keeps you from feeling lost when you’re in photo mode, and it makes the outing feel efficient for a 3-hour schedule.
Because the tour includes one-way subway fare, you should expect at least one transit segment during the walk-and-shoot flow. That’s not just for convenience. It’s practical for getting you into position for action photography, like the subway shots you’ll be coached on.
The meeting area being near public transportation is also a real quality-of-life detail. Midtown can be confusing, and you don’t want your pre-photo energy burned up just getting there.
Radio City Music Hall: framing big Midtown shapes
Radio City Music Hall is the kind of landmark that rewards a careful approach. Wide facades, strong vertical lines, and dramatic angles can turn into either a great shot or a messy one, depending on where you stand and what you include.
What you’ll likely work on here is composition that respects architecture. That means choosing a viewpoint that keeps lines from leaning in your frame, and deciding whether you want the building to dominate or to share the scene with surrounding Midtown energy.
A photo safari like this is also a timing game. The early part of the tour tends to set your “photo rhythm,” so you can spend later stops more confidently. If your camera has trouble balancing bright lights, starting here gives you time to learn what to adjust before you hit Rockefeller Center-level spectacle.
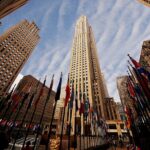
Rockefeller Center: the Midtown classic you can’t fake
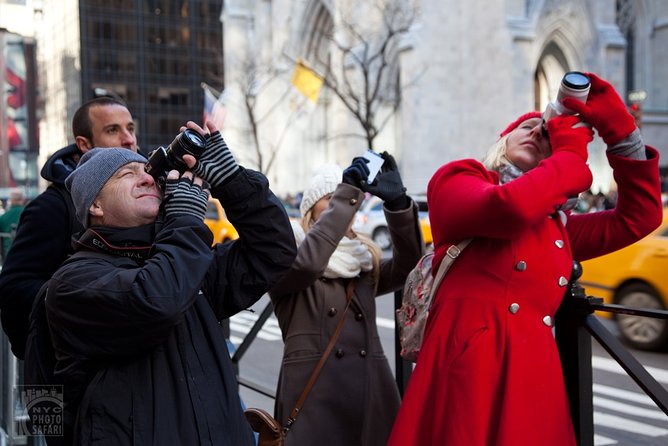
Rockefeller Center is one of those places where it’s easy to take a postcard picture and harder to take a picture that looks like a person with a plan. The good news is that this tour is built around giving you that plan.
You’ll get guidance aimed at making your photos feel sharper and more intentional around landmark settings. That can mean practicing where you place the horizon line, how you handle crowds, and how to keep the subject from blending into the background.
The instructor coaching is especially valuable here because Midtown scenes can fool your eyes. Bright windows, reflective surfaces, and layered buildings can trick your camera’s exposure. You’re learning how to respond instead of hoping the next shot magically fixes everything.
Rockefeller Center Christmas Tree: one subject, many looks
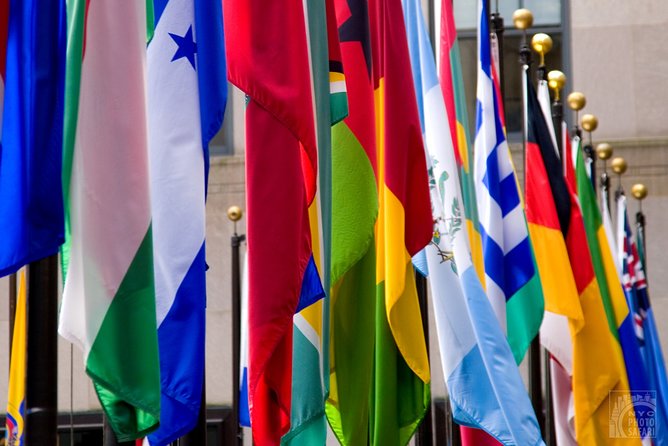
The Rockefeller Center Christmas Tree stop gives you a different kind of challenge than stone architecture. A festive centerpiece can be visually chaotic: lights, ornaments, and tons of brightness competing for attention.
This is where you’ll appreciate tips that help with lighting and exposure choices. Instead of photographing the tree like a single flat object, you’ll learn approaches for framing that include context while still keeping the attention on the main subject.
If you’re using a smartphone, this stop is a good test for how your device handles bright point lights. Even if you’re not a camera settings person, learning what the guide tells you to watch for here can make your later night photos better, too.
Central Park: building depth when buildings crowd the scene
Central Park on a Midtown photo route works well because it creates contrast. You’re still in New York’s dense grid, but you’re adding breathing room—trees, pathways, and more varied angles.
In this part of the tour, you’ll likely focus on getting depth. That means using foreground elements to lead the eye, positioning yourself so buildings don’t swallow the scene, and composing so the park feels like part of the city rather than a sticker pasted onto it.
Even though Central Park is a familiar name, the photo safari approach makes it feel different. Instead of strolling for scenery, you’re looking for photo opportunities: lines that guide you, gaps in views, and moments where the park provides a natural frame for Midtown beyond.
Capturing motion in NYC, including subway trains
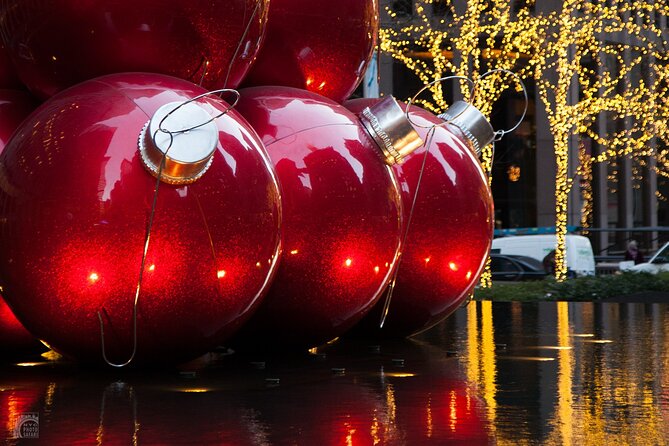
If there’s one standout teaching theme in this safari, it’s motion. Midtown includes moving people, traffic energy, and transit movement—and that’s exactly why motion photography matters.
You’ll learn how to capture moving objects like a subway train, with coaching that helps you manage the tradeoff between crisp subject detail and a sense of motion. The goal isn’t just “make it blurry.” It’s learning how to choose when blur looks like speed and when it ruins your photo.
You’ll also get guidance that connects motion to real-world conditions: you can’t control the city, but you can control your decisions. That’s the mindset shift this tour is built to deliver, and it’s why the workshop approach works better than passive sightseeing.
Group size, walking pace, and getting real feedback
This safari caps at 8 travelers, which is one of the best signals for value. Small groups mean the instructor can actually respond to what you’re doing, not just give general advice while everyone drifts away.
The tour format also supports something many photo tours miss: picture review in the moment. You’re not just walking past landmarks. You’re stopping, shooting, adjusting, and getting feedback as you go.
The walking is moderate, and you should have a decent fitness level. It’s not described as intense, but it is active. Wear shoes you trust and keep your camera accessible. If you’re the type who needs long breaks to regain focus, plan for that.
What’s included in the $125 price (and why it can be worth it)
At $125 per person for about 3 hours, the value mostly comes from the instructor time and the “guided learning” factor. You’re paying for concentrated coaching: tips on using your camera better, plus help translating those tips into photos of real Midtown landmarks.
What you get included:
- A professional photographer instructor
- One-way subway fare
What you don’t get:
- Private transportation
That last point matters. Since private transport isn’t included, the tour feels more like a smart photo route you cover with walking and a transit segment rather than a chauffeured sightseeing day. If you already plan to use public transit in Midtown, that’s fine.
For a solo traveler, this can be a smart buy. Instead of guessing how to shoot the city, you can come away with a usable approach you’ll apply all over Manhattan. For a couple or small group, the small size can still feel personal without being overwhelming.
Who this Midtown photo safari is best for
This is a good match if:
- You want better photos of major Midtown landmarks without spending hours researching settings
- You’re open to walking and stopping often
- You enjoy learning by doing, not just listening
- You want help with both standard landmark shots and trickier motion scenes
It’s also a helpful choice if you’re using both digital cameras and smartphones. One of the review details highlights instruction for iPhone camera use, which tells me the tour isn’t limited to DSLR folks. If you’re an advanced camera user, you may still enjoy the composition coaching; if you’re a beginner, you’ll likely appreciate the structured guidance.
Practical tips so you get the most from the workshop
You’ll get more from the tour if you arrive ready to shoot, not scrambling mid-walk.
- Bring your main device plus any extras you rely on (lens gear if you have it, spare battery if your device allows it).
- Charge fully and clear storage. You’ll take more photos than you expect once the coaching starts.
- Dress for Midtown weather. The tour is described as requiring good weather, so plan layers.
- Think in mini-goals: one framing idea at each stop, not random shots. The instructor’s tips become more useful when you test them immediately.
Also, be ready for the “look again” moments. A good photo safari teaches you to notice what changed after you adjusted your approach.
Should you book this Midtown NYC Photo Safari?
If you want more than landmark photos and you like learning while you walk, I’d book it. The strongest reasons are the small group coaching and the practical instruction for both landmark photography and motion scenes like subway trains. That blend is rare for a short, priced tour.
Skip it only if you’re looking for a relaxed sightseeing day with minimal movement. This tour works best when you’re willing to stop, shoot, and refine.
If you’re planning a Midtown trip and want one experience that directly upgrades your results, this is a solid pick.
FAQ
How long is the Midtown NYC Photo Safari?
It runs for about 3 hours.
Where does the tour start and end?
It starts at 180 Madison Ave, New York, NY 10016, and ends back at the same meeting point.
How many people are in the group?
The tour has a maximum of 8 travelers.
What landmarks will I photograph on the tour?
You’ll cover Radio City Music Hall, Rockefeller Center, the Rockefeller Center Christmas Tree, and Central Park. The tour also focuses on famous landmarks in Midtown, including the Empire State Building and Rockefeller Center.
What is included in the ticket price?
You get a professional photographer instructor and one-way subway fare.
Do I need private transportation?
No. Private transportation is not included, so you’ll rely on walking and the included subway fare.
Will I get tips for taking photos of moving subjects?
Yes. The workshop includes instruction on capturing moving objects like a subway train.
Is the tour taught for phones as well as cameras?
The instruction includes tips for digital camera use and iPhone camera use.
What happens if the weather is bad?
The experience requires good weather. If it’s canceled due to poor weather, you’ll be offered a different date or a full refund.
What is the cancellation policy?
You can cancel for a full refund up to 24 hours in advance. Within 24 hours of the start time, the amount paid is not refunded.
More Tour Reviews in New York City
- NYC: SUMMIT One Vanderbilt Tickets★ 4.7 · 51,195 reviews
- NYC: Empire State Building Tickets – Observatory & Museum★ 4.7 · 25,757 reviews
- New York City: Statue of Liberty & Ellis Island with Ferry★ 4.6 · 18,683 reviews
- New York City: American Museum of Natural History Ticket★ 4.5 · 15,447 reviews
- Statue of Liberty and Ellis Island Tour: All Options★ 5.0 · 13,571 reviews