
Reviewed · CENTRAL PARK TOURS
Central Park Photography Tour with Local Photographer
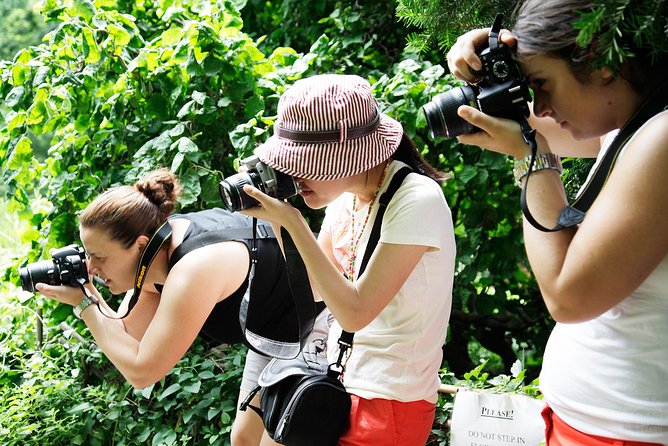
Central Park looks different through a lens. This 2.5-hour photo workshop puts you on photogenic stops with a local photographer who teaches while you shoot. You start at Bethesda Terrace and work your way through the park with practical guidance for getting stronger photos fast.
Two things I really like: first, it feels like a real workshop, not a sightseeing slideshow. You get tips and techniques geared to your own camera features, so it’s useful whether you’re brand-new or fiddling with settings. Second, the small group size (max 8 travelers) means you’re not just herded along—you can actually ask questions and get help on the spot.
One drawback to consider: this is photo-focused, so you’ll spend time stopping, framing, and shooting instead of doing a relaxed, chatty stroll. Also, you’ll be responsible for getting to the meeting point—there’s no hotel pickup.
In This Review
- Key highlights to know before you go
- Starting at Bethesda Terrace: your workshop’s home base
- What a pro-led photo workshop really means (and how you’ll benefit)
- Shakespeare Garden in spring and summer: soft scenes with strong framing
- Bethesda Fountain and Terrace: symmetry, height, and classic New York drama
- Swedish Cottage Marionette Theatre and Naumburg Bandshell: whimsical and stage-ready
- Central Park’s photo circuit: learning to see what’s “photogenic”
- Metropolitan Museum of Art and American Museum of Natural History: big backdrops without the detour
- Price and value: is $100 worth it?
- What to bring to get real results (not just photos)
- Who this Central Park photo tour fits best
- Should you book this Central Park photography tour?
- FAQ
- How long is the Central Park photography tour?
- Where do you meet for the tour?
- How much does the tour cost?
- Is the tour offered in English?
- How big is the group?
- What’s included in the price?
- What is not included?
- What is the cancellation policy?
Key highlights to know before you go
- Local pro photographer leads the session and knows the best NYC angles
- Small group max of 8 (often fewer) for more personal attention
- Hands-on instruction so you can use your camera features, not someone else’s
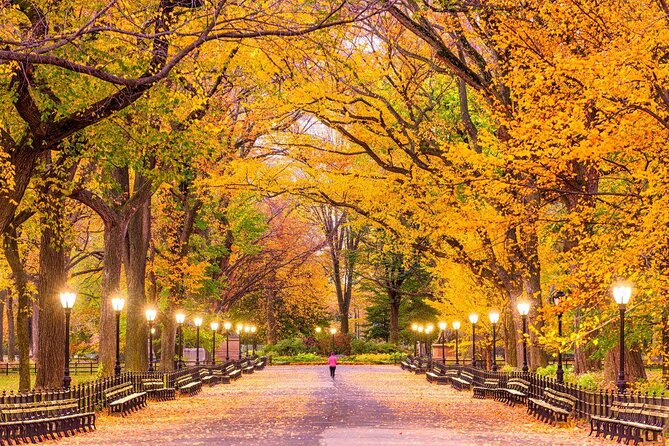
- Central Park landmarks on the route: Bethesda Fountain, Terrace, and Swedish Cottage
- Seasonal stop: Shakespeare Garden is included for spring and summer safaris
- Good value for 2.5 hours when you want instruction plus iconic photo spots
More ways to see Central Park
- Central Park Pedicab Guided Tours
★ 5.0 · 7,108 reviews - Private Central Park Pedicab Tour
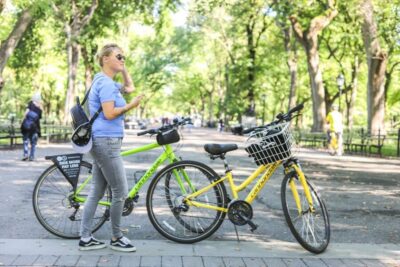
★ 5.0 · 6,981 reviews - NYC: Central Park Bike Rentals
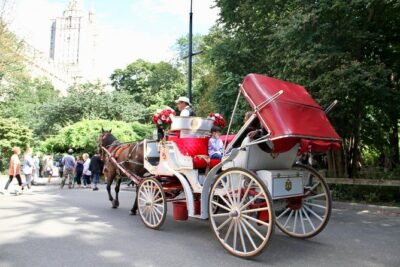
★ 4.2 · 2,528 reviews - Official NYC Horse Carriage Rides in Central Park since 1979 ™
★ 5.0 · 2,365 reviews
Starting at Bethesda Terrace: your workshop’s home base
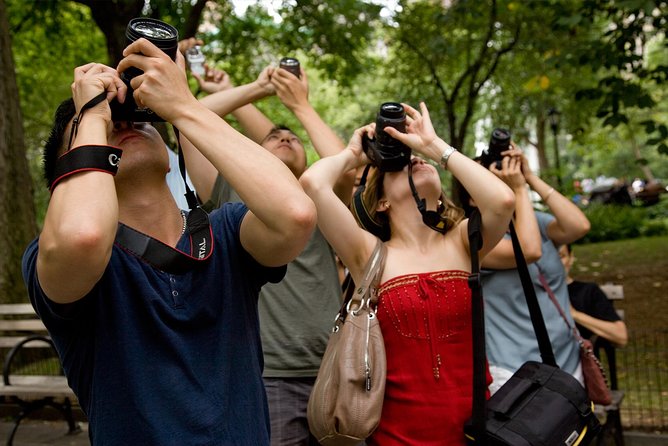
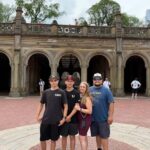
You meet at Bethesda Terrace (New York, NY 10024) and then head out on a route designed for photos, not just footsteps. Starting here makes sense: it’s a natural “photo hub,” and it also keeps the timing tight. You’re not wasting an hour getting from one spot to another—you’re getting to places where your guide can help you see composition options immediately.
You’ll end back at the same meeting point. That matters more than it sounds. In Central Park, the “how do we get back?” stress can wreck your energy. Here, you can focus on learning and shooting, then wrap up without a puzzle.
If you’re arriving on public transit, you’ll likely find it easy. The tour is described as near public transportation, which is a big plus when you’re planning your day around other museum time.
What a pro-led photo workshop really means (and how you’ll benefit)
This isn’t a passively guided tour. The promise is that you’ll pick up tips and techniques from a professional local photographer, and you’ll learn how to use your own camera to take better photos. In practice, that kind of instruction tends to help most when you have an actual camera in your hands and a few moments where you can try what you’re being taught.
Here’s how I’d use the time: watch what your guide points out, then immediately try it with your own lens or phone camera settings. The goal is to leave with repeatable habits—how to frame, where to stand, what to look for in light and background. And because it’s a small group, your guide can tailor attention to your comfort level. Even better, some small groups have been as tiny as two people, which is a lot more like a coaching session than a class.
One practical note: if you’re the type who loves to move fast and shoot first, do it. But keep an eye on the guide’s cues. A big part of photography in Central Park is learning how to “read” the scene quickly—where the clean angles are, what backgrounds are distracting, and how to avoid the classic tourist-photo clutter.
Shakespeare Garden in spring and summer: soft scenes with strong framing
In spring and summer safaris, you’ll stop at the Shakespeare Garden. That seasonal detail is important, because the garden’s look changes a lot throughout the year. When it’s in season, it tends to deliver the kind of photos that feel cinematic without requiring fancy gear.
Why it works for photography:
- You get controlled, garden-style shapes that make framing easier.
- There’s often more color and texture than in off-season visits.
- It’s a great place to practice portraits and close-up compositions while learning how to manage backgrounds.
What I’d focus on here is separation: getting your subject (you, a friend, or an object) to stand out from the rest. Even if you just shoot trees, paths, or stonework, you’re practicing the basics that carry over to every other stop.
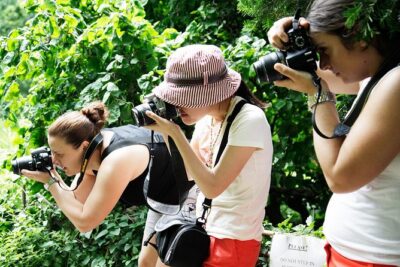
More frames of your trip, shot by a pro
Bethesda Fountain and Terrace: symmetry, height, and classic New York drama
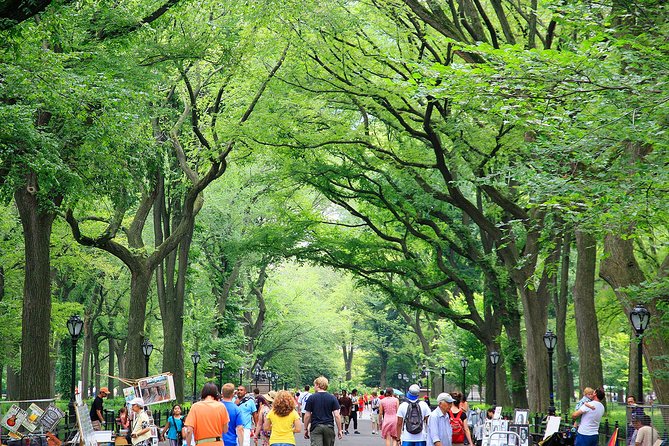
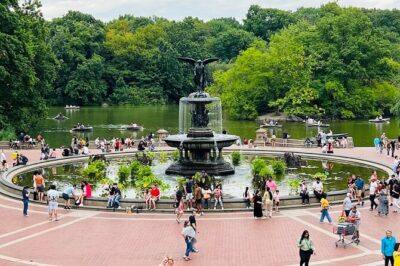
Bethesda Fountain is the kind of stop that almost photographs itself. But the workshop angle makes it more than an icon. Your guide can help you avoid the most common mistake: shooting it from one flat spot and calling it done.
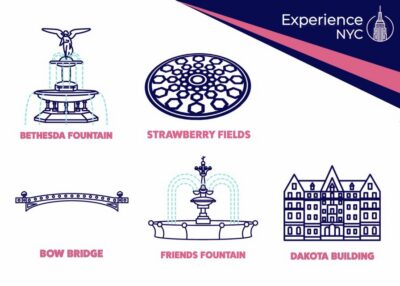
Bethesda Fountain
Look for ways to use symmetry and leading lines. The fountain area invites centered compositions, and it also gives you options for wider context shots versus tighter details. If you’re practicing camera controls, this stop is perfect because you can quickly compare how your settings affect sky, water shine, and overall sharpness.
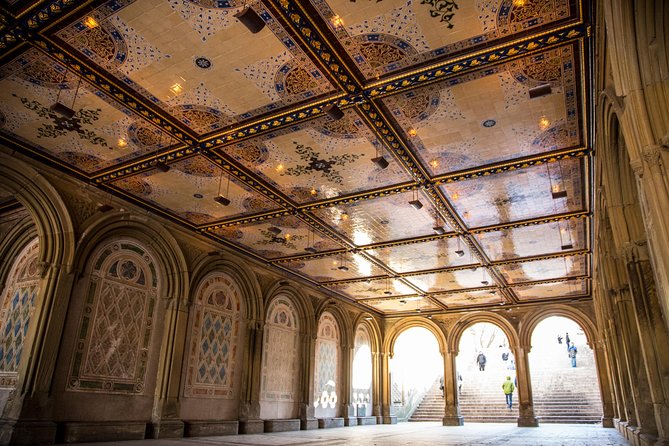
Bethesda Terrace
Then you move to Bethesda Terrace, which brings more “architecture + viewpoints” energy. Terrace spots often offer different levels of perspective—looking down, looking through arches, or framing people against stone. If you’ve ever felt like your photos look fine but not “designed,” this is where you start learning the difference.
The big takeaway I’d want you to leave with: landmarks get interesting when you approach them like a series of frames, not a single photo opportunity. Your guide’s job is to help you see those frames.
Swedish Cottage Marionette Theatre and Naumburg Bandshell: whimsical and stage-ready
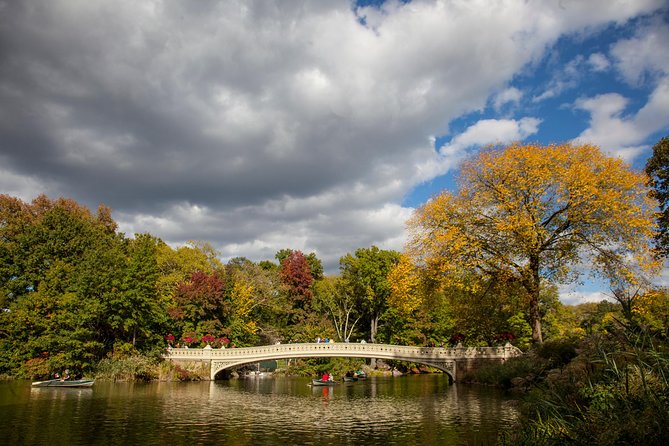
Central Park isn’t only grand fountains. Part of what makes it fun to shoot is the variety of moods, and two stops on this route deliver that variety.
Swedish Cottage Marionette Theatre
This is a quieter, more storybook-feeling stop compared to the big civic landmarks. It’s great for photos where background matters. You’ll likely appreciate how the building details create clean lines and readable forms, which helps your images look intentional even if you’re not using a pro-level camera setup.
Naumburg Bandshell
The bandshell brings you into the world of performance-space photos. Think about framing: the structure can act like a stage, and the space around it gives you options for wide shots or people-in-environment compositions. Even if you don’t catch an event, the architecture gives you a “ready-made” frame.
If you want photos that look like Central Park without just being postcards, these two stops are key. They’re the spots where you practice composing with character, not just scale.
Central Park’s photo circuit: learning to see what’s “photogenic”
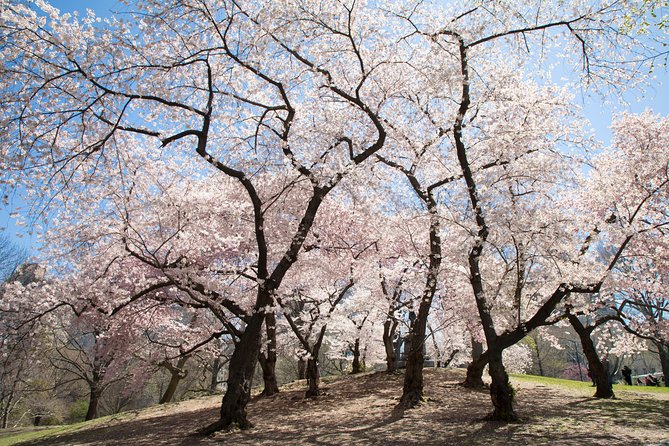
Once you’ve visited the specific landmarks, the tour keeps working you through Central Park’s most photogenic spots hand-picked by your guide. That phrase is doing real work. “Best photo spots” in a park isn’t just about big attractions—it’s also about angles, backgrounds, light conditions, and flow between scenes.
This portion is where the instruction starts sticking. Because you’re not only sightseeing, you’re actively practicing:
- How to reposition for a cleaner background
- How to shoot details as well as wide views
- How to keep your framing consistent when you move quickly
Also, small-group format helps here. If you’re learning, you need time to try. If the group is tiny, you’re less likely to feel rushed while your guide coaches you through your camera choices.
Metropolitan Museum of Art and American Museum of Natural History: big backdrops without the detour
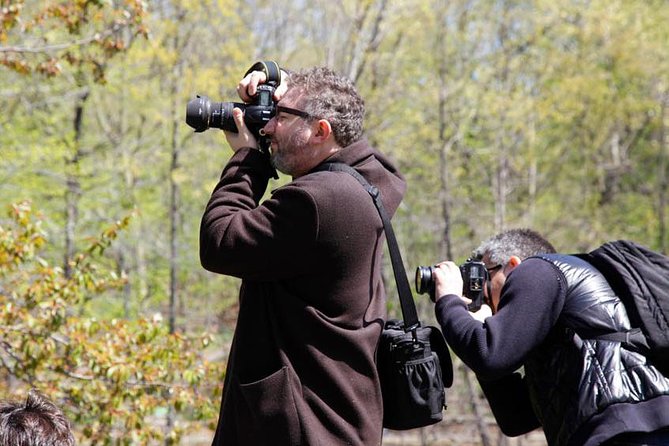
The tour route also takes advantage of Central Park’s classic edge views, with the Metropolitan Museum of Art and the American Museum of Natural History in the mix. You don’t need to be in a museum to benefit from museum-sized backdrops—those buildings create dramatic frames that make your park photos feel more “New York” and less generic.
How to use these stops for better photos:
- Treat the museum facades like composition tools. Use them to create depth behind your subject.
- Look for contrasts: stone vs. greenery, grand scale vs. small details.
- Aim for cleaner sightlines so the building doesn’t get swallowed by busy backgrounds.
Since the tour description doesn’t mention admissions, I’d plan for this as a photo-focused stop that emphasizes angles and exterior views. It’s a nice way to connect Central Park photography with NYC’s museum identity without turning your time into a queue adventure.
Price and value: is $100 worth it?
At $100 per person for about 2 hours 30 minutes, the value depends on your goal. If you want just a walk through the park with iconic stops, you could do that on your own. But if you want instruction that helps you make better photos on your next outing, the pricing starts to make sense—especially with a local photographer guide and a maximum group size of 8.
Here’s why the value holds up:
- You’re paying for professional photo guidance, not only a route.
- The “small group” detail matters because it affects how much feedback you can actually get.
- You learn techniques you can use right away during the same session, rather than saving it for later.
And because the tour is offered in English and includes local taxes, you’re not hit with surprise add-ons beyond what you bring yourself (camera, comfortable shoes, and your own transit plan).
What to bring to get real results (not just photos)
Since the workshop emphasizes using your own camera, come prepared to shoot. That usually means your current gear—camera body and lens you like using, or whatever device you’ve been trying to learn.
I also recommend:
- Wear comfortable shoes for walking and quick stops.
- Bring a charged battery and any memory storage you need.
- If you’ve got questions about a setting you’re trying to master, write them down on your phone notes so you don’t blank when your guide makes eye contact.
And a simple mindset tweak: give yourself permission to take multiple frames. Photography coaching works best when you’re actively testing. The workshop format is built for that.
Who this Central Park photo tour fits best
This one fits especially well if you want structured photo help in an iconic setting. You’ll likely enjoy it if:
- You’re learning photography and want feedback that matches your level
- You want a guided route, but you don’t want only history—you want technique
- You like the idea of small-group attention instead of a big crowd
It can also work nicely for older teens, since the experience is described as instruction-heavy and geared toward helping someone learn to use camera features effectively. If you’re traveling with family, you’ll need at least one adult for children, and service animals are allowed.
Should you book this Central Park photography tour?
I’d book it if your main goal is to leave with better photos and better habits, not just a few landmark pictures. The big strengths—hands-on workshop style, local pro guidance, and small-group attention—are exactly what you want when you care about photography and want faster improvement.
I’d skip it if you’re looking for a relaxed sightseeing walk with minimal stopping. This is a shoot-and-learn outing. Bring comfortable shoes, bring your camera, and be ready to experiment.
If that sounds like your kind of day, this is a smart way to turn Central Park into a practical classroom—one where the subject is right in front of you.
FAQ
How long is the Central Park photography tour?
It’s listed as about 2 hours 30 minutes.
Where do you meet for the tour?
The meeting point is Bethesda Terrace, New York, NY 10024, USA.
How much does the tour cost?
The price is $100.00 per person.
Is the tour offered in English?
Yes, it’s offered in English.
How big is the group?
The maximum group size is 8 travelers.
What’s included in the price?
It includes a professional local photographer guide and local taxes.
What is not included?
Hotel pickup and drop-off, plus transportation to or from attractions, are not included.
What is the cancellation policy?
You can cancel for a full refund up to 24 hours in advance of the experience start time.
More Tour Reviews in New York City
- NYC: SUMMIT One Vanderbilt Tickets★ 4.7 · 51,195 reviews
- NYC: Empire State Building Tickets – Observatory & Museum★ 4.7 · 25,757 reviews
- New York City: Statue of Liberty & Ellis Island with Ferry★ 4.6 · 18,683 reviews
- New York City: American Museum of Natural History Ticket★ 4.5 · 15,447 reviews
- Statue of Liberty and Ellis Island Tour: All Options★ 5.0 · 13,571 reviews
Your New York City Trip, Shot by a Pro
- NYC Professional Photoshoot and Walking Tour with Private Guide★ 5.0 · 608 reviews
- New York Icon Photography Tour led by a Local Photographer★ 5.0 · 155 reviews
- New York: 1-hour Photoshoot in Iconic Locations★ 5.0 · 101 reviews
- Iconic New York City Photography Tour★ 5.0 · 61 reviews
- Your NYC Story in Photos: Custom 2-Hour Tour & Photo Shoot★ 4.9 · 60 reviews
More of Central Park
- Central Park Pedicab Guided Tours★ 5.0 · 7,108 reviews
- Private Central Park Pedicab Tour★ 5.0 · 6,981 reviews
- NYC: Central Park Bike Rentals★ 4.2 · 2,528 reviews
- Official NYC Horse Carriage Rides in Central Park since 1979 ™★ 5.0 · 2,365 reviews
- NYC: Central Park Bike Rental★ 4.1 · 1,651 reviews
Just in: the newest New York City reviews on our desk


Central Park Tours, compared.
 ★ 5.0Central Park Pedicab Guided ToursFrom $387,108 reviews
 ★ 5.0Private Central Park Pedicab TourFrom $386,981 reviews
 ★ 4.2Central Park Bike RentalsFrom $92,528 reviews
 ★ 5.0Official NYC Horse Carriage Rides in Central Park since 1979 ™From $992,365 reviews
 ★ 4.1Central Park Bike RentalFrom $81,651 reviews
 ★ 4.9Private Central Park Pedicab TourFrom $401,637 reviews
 ★ 4.7Central Park Bike RentalFrom $91,509 reviews
 ★ 4.0Carriage Ride in Central Park (VIP – PRIVATE) Since 1964™From $141,074 reviews
Browse the lists this tour appears in