
Reviewed · NYC PHOTOSHOOTS
New York City’s Iconic Sights: 3-Hour Photography Tour
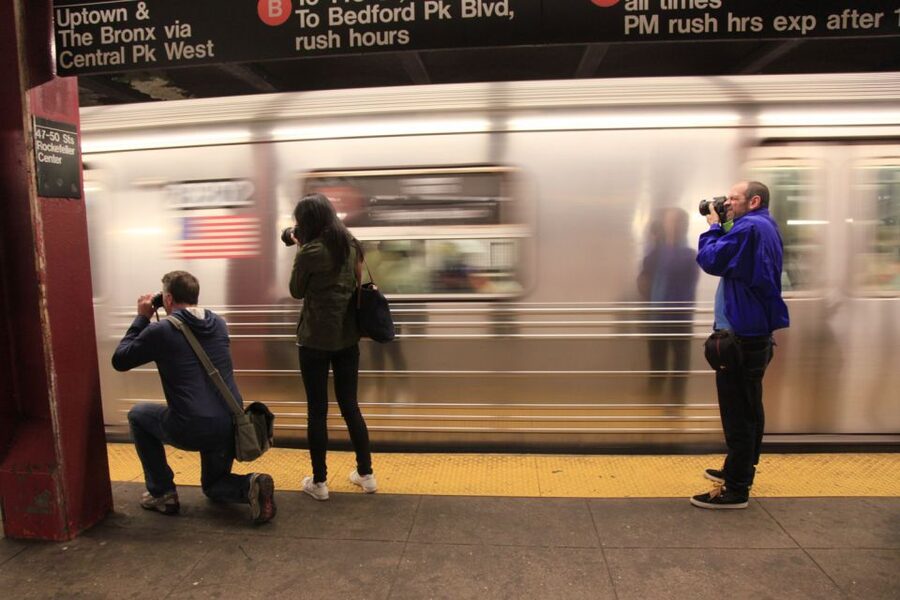
Manhattan turns into a photo lesson. This 3-hour walking tour is built around shooting NYC’s biggest landmarks while a professional photographer coaches you step by step. I like that it’s not just sightseeing with a camera in your hand.
I also like the focus on lines and angles, plus the payoff of a skyline photo moment from Central Park. One consideration: because the route uses the NYC subway system, it’s not wheelchair friendly.
In This Review
- Key points before you go
- Why $125 for a 3-hour NYC photography tour can make sense
- Starting at 34th and Madison: getting oriented quickly
- How the pro guidance works (and why it helps beginners)
- Rockefeller Center: turning city geometry into strong photos
- Radio City Music Hall: framing a landmark without getting stuck
- Empire State Building: composing tall architecture in a short window
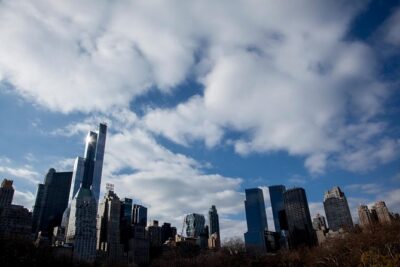
- Central Park skyline: the payoff for your Midtown efforts
- Subway-powered walking: logistics that affect your photos
- What’s included, what’s not, and how to pack smarter
- Who this tour suits best (and who should skip it)
- Should you book the New York City Photo Safari Iconic Sights tour?
- FAQ
- How long is the New York City Iconic Sights Photography Tour?
- How much does the tour cost?
- Where do I meet the tour?
- What’s included in the tour price?
- Is camera rental included?
- Which landmarks will we photograph?
- How large is the group?
- Is the tour wheelchair accessible?
- What language is the guide?
- What is the cancellation policy?
Key points before you go
- Small groups capped at 8 so you get real guidance, not a crowd shuffle
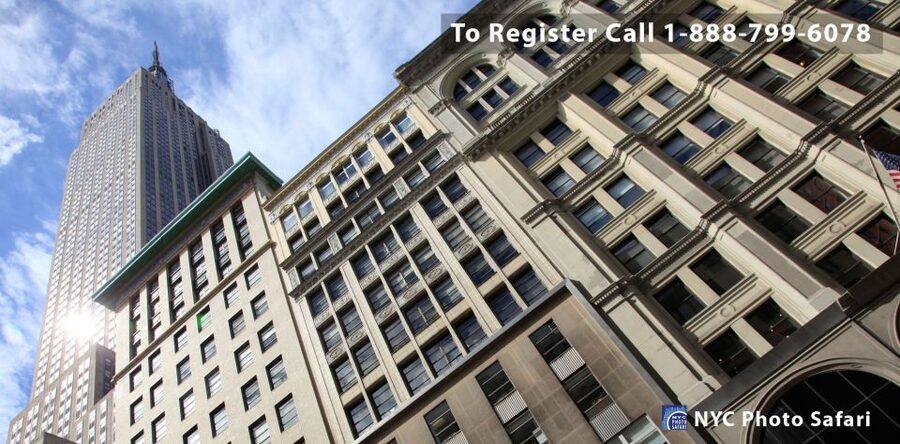
- Iconic Midtown stops built for photography: Rockefeller Center, Radio City Music Hall, and the Empire State Building
- Central Park skyline time so you’re not stuck with only street-level views
- Practice-led instruction focused on lines, angles, and working around the city
- Subway-based walking so comfortable shoes and timing matter
- Professional-led feedback that works for all experience levels
More frames of your trip, shot by a pro
- NYC Professional Photoshoot and Walking Tour with Private Guide
★ 5.0 · 608 reviews - New York Icon Photography Tour led by a Local Photographer
★ 5.0 · 155 reviews - New York: 1-hour Photoshoot in Iconic Locations
★ 5.0 · 101 reviews - Central Park Photography Tour with Local Photographer
★ 5.0 · 85 reviews
Why $125 for a 3-hour NYC photography tour can make sense
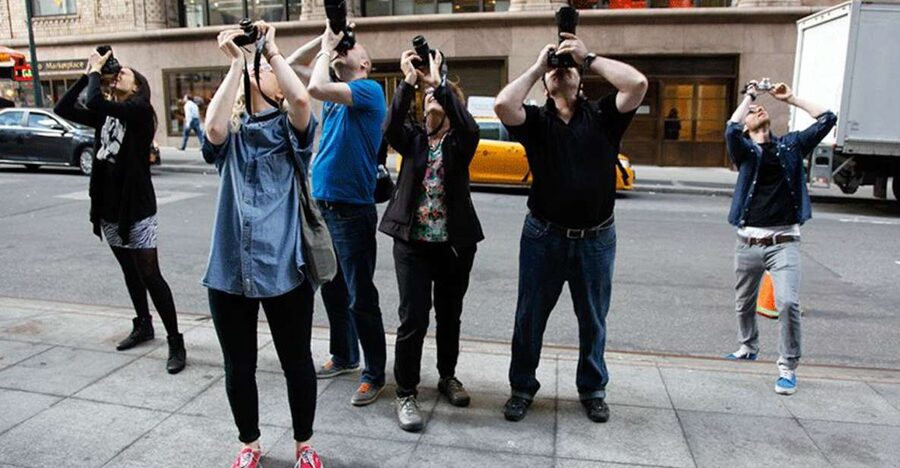
$125 per person for three hours sounds like a lot until you look at what you’re actually buying. You’re not paying for a lecture in a classroom. You’re paying for concentrated time at multiple major landmarks, with an instructor who helps you translate what you see into a better shot.
That matters in New York because the best photo opportunities are often time-sensitive. Light changes fast, crowds move, and you lose your best composition if you wait too long. A guided photo walk gives you momentum and teaches you how to think while you move.
You’re also in a small group (up to 8). In practice, that usually means the guide can slow down when you need help and speed up when you’ve got a handle on the basics. One past booking even had just two people signed up, and that kind of spacing can turn the tour into a more hands-on workshop without stretching the schedule.
Starting at 34th and Madison: getting oriented quickly
The meeting point is at 34th and Madison. That location is practical because it puts you in the heart of Midtown right where the major photo subjects are clustered.
In the first stretch of the tour, you should expect a quick setup period. Even if you’re brand-new, the goal is to get you shooting instead of endlessly listening. You’ll learn how to work the space you’re in, how to line up a frame, and how to keep moving when the group advances.
Plan to arrive a few minutes early with your camera ready. This isn’t a slow stroll where you can casually browse for a half hour and still catch the best angles. The session is short, so the early minutes count.
How the pro guidance works (and why it helps beginners)
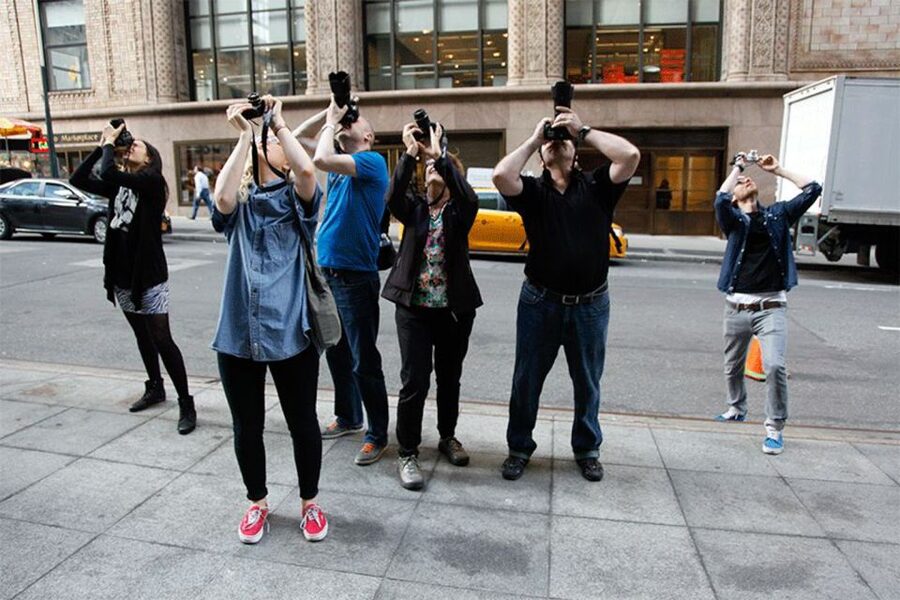
This experience is led by a professional photographer. In one set of feedback from Germany, the guide is named Zim, described as friendly and strong on technical knowledge, with instructions that are easy to understand.
That “teach it so I can use it now” approach is the whole point of this type of tour. It’s appropriate for all levels, which is exactly what you want if you’re not sure how to frame buildings or you don’t know what to adjust when a scene looks great in real life but flat on your camera.
You’ll be practicing concepts instead of just hearing about them. The tour is designed around working with lines and angles, so you stop shooting everything straight-on and start building images with structure. That skill carries over even after the tour ends.
The big picture: more New York City sightseeing
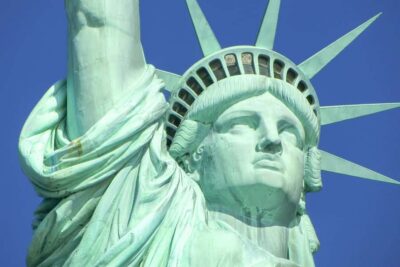


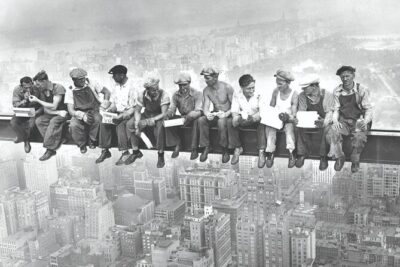
Rockefeller Center: turning city geometry into strong photos
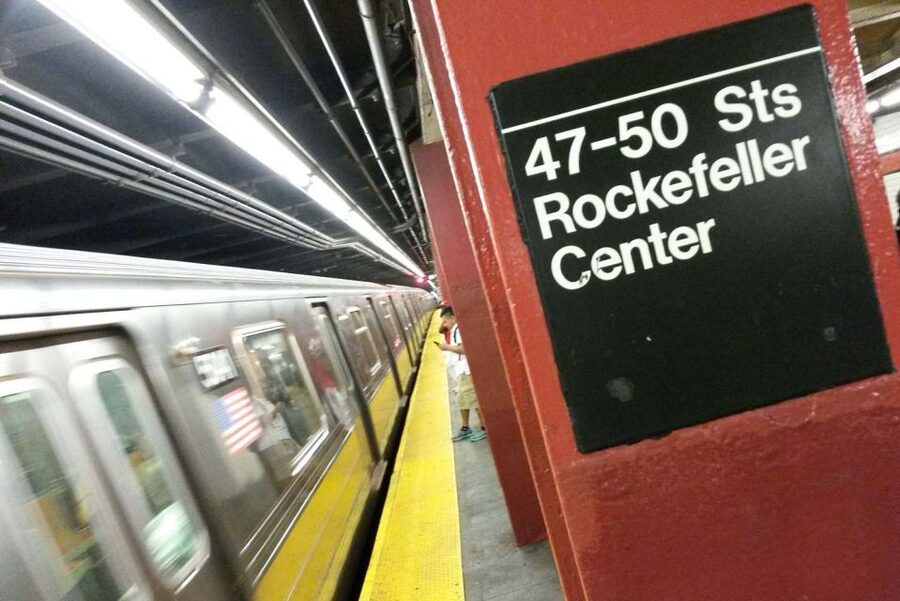
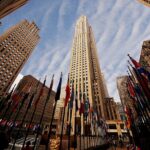
Rockefeller Center is a natural place to start because it’s full of architectural lines that lead your eye. When you photograph here with guidance, you’re practicing the basics that matter most for Manhattan: using perspective, creating depth, and keeping your angles intentional.
Here’s what to think about as you frame Rockefeller Center:
- Find lines that point somewhere specific, not random details.
- Watch for symmetry and balance, especially with columns, edges, and building tops.
- Use the street level environment as part of the composition, not just a platform.
A good photo at Rockefeller Center isn’t only about capturing a famous name. It’s about making the scene feel organized. That’s where line-and-angle coaching pays off. Even if you don’t feel confident with your camera settings, you can improve dramatically just by changing where you stand and what you include in the frame.
Radio City Music Hall: framing a landmark without getting stuck
Radio City Music Hall gives you a different photography challenge than the more office-building-heavy views. It’s a big subject with strong visual features, so your job is to include enough context to make it recognizable while still composing a shot that looks intentional.
In practical terms, this stop is where you learn to think like a photographer rather than a tourist. Your goal is to use nearby edges and shapes to guide the viewer through the frame. If you focus only on getting the whole building in, your photos can end up feeling crowded or messy.
Instead, practice choosing:
- A main subject area (the facade or a standout feature).
- A framing method that keeps distracting elements from taking over.
- A viewpoint that gives the building presence.
If your camera skills are still building, this is exactly the kind of stop where structured coaching helps you make decisions faster.
Empire State Building: composing tall architecture in a short window
When you arrive at the Empire State Building, you’ll be working with one of the most photographed structures in the world. That’s good news and bad news. It’s good because you’re in the right place for iconic shots. It’s bad because it’s easy to settle for the obvious view and end up with pictures that look like everyone else’s.
A pro-led photo walk helps you move past the obvious. The instruction centers on lines and angles, and the Empire State Building rewards that approach because the tower creates natural leading lines. From street-level or from nearby vantage points, small changes in where you position yourself can completely reshape the image.
What you can do right away:
- Look for angles that keep the tower vertical without turning the frame into a steep, confusing mess.
- Watch where the edges of the building intersect with the frame borders.
- Decide what you want to emphasize: height, surrounding architecture, or sky space.
You’ll also appreciate how the tour keeps things moving. Three hours is short, and this is one of the busiest parts of the session. If you’re used to wandering slowly, the timed, guide-led flow is a helpful change.
Central Park skyline: the payoff for your Midtown efforts
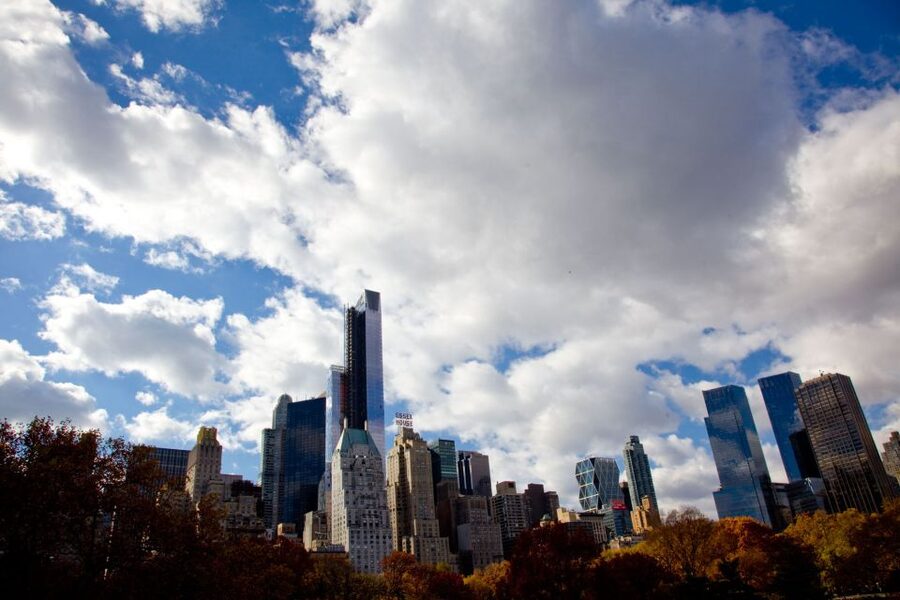
Central Park might feel like a break from the city’s hard edges, and that’s exactly why it works as the final photography payoff. This tour includes an opportunity to photograph the skyline from Central Park, which means you get separation between you and the buildings.
That separation is a gift for composition. You can show the skyline with more breathing room and choose a viewpoint that makes the city feel layered instead of flat.
As you shoot from Central Park, keep the “structure” thinking you learned earlier:
- Use the horizon line and building edges as your anchor.
- Look for framing elements that help your skyline sit inside the image (paths, natural borders, and nearby geometry).
- Try angles that make the skyline feel deeper, not just taller.
The best part is that this isn’t just a random park stop. It’s specifically built into the tour for photography. If you want your set of images to include both iconic Midtown landmarks and a skyline scene that looks like you earned it, this section delivers.
Subway-powered walking: logistics that affect your photos
This tour is fast-paced and uses the NYC Subway system. That’s not a small detail. It changes how you should prepare and how you’ll experience the day.
Comfort matters. Wear shoes you can walk in, and dress for weather. You’ll be outside for parts of the route, and you’ll move quickly between areas.
Also, there’s a practical payment reality worth flagging. The tour information says subway fare is included, but one past booking notes that subway fees were not covered. It wasn’t a huge issue, but it’s a good reminder to be ready at the turnstiles. Bring a metro card or have a credit card handy so you don’t lose time figuring it out mid-tour.
What’s included, what’s not, and how to pack smarter
Here’s the deal:
- Included: a professional photographer guide and subway fare (with the caveat above)
- Not included: transportation beyond the subway fare, camera rental, and meals
So you’ll want to bring your own camera. Camera rental isn’t part of the price, so don’t assume you can show up with just a phone and everything will be handled for you.
For gear and readiness, keep it simple:
- Make sure you know how to power your camera on and change basic settings.
- Bring weather protection if conditions look questionable.
- Don’t forget that you may end up standing, moving, and shooting in quick bursts rather than sitting down to compose slowly.
One booking specifically mentioned the tour continued despite rainy weather. That’s a sign the experience can keep going even when the sky doesn’t cooperate, but it’s still smart to dress for rain and wind.
Who this tour suits best (and who should skip it)
This is a strong match if you:
- Want a structured way to learn photography in real locations
- Like architecture and city scenes more than scenic countryside views
- Are traveling with limited time and want multiple NYC icons in one guided session
- Would benefit from a small group format where you can ask questions
It’s also a good pick if you thought you’d only get a handful of decent photos. In one experience, the photographer coached the group so effectively that the person ended up with far more good shots than they expected.
Skip it if:
- You need wheelchair-friendly routing. The tour notes say it’s not wheelchair accessible because it uses the subway.
- You dislike public transit or prefer a slower, independent pace.
- You’re expecting long stops and lots of waiting time for the perfect light. This is about practicing and moving.
Should you book the New York City Photo Safari Iconic Sights tour?
If your goal is better photos of NYC landmarks without spending the day guessing what to do, I think this booking is worth considering. The combination of a professional photographer, a small group (up to 8), and targeted practice on lines and angles is exactly what helps you improve in a short time. The Central Park skyline add-on is a real bonus, because it rounds out the typical Midtown-only photo set.
Just make sure you’re comfortable with the practical side: subway use, walking, and the fact that camera rental and meals aren’t included. If wheelchair access is important for you, treat the subway-based note as the deciding factor and confirm details directly with the provider before you pay.
FAQ
How long is the New York City Iconic Sights Photography Tour?
It lasts 3 hours.
How much does the tour cost?
The price is $125 per person.
Where do I meet the tour?
The meeting point is at 34th and Madison.
What’s included in the tour price?
The tour includes a professional photographer guide and subway fare.
Is camera rental included?
No. Camera rental is not included.
Which landmarks will we photograph?
The tour focuses on Rockefeller Center, Radio City Music Hall, the Empire State Building, and other iconic sites in Central Park, including a chance to photograph the skyline from Central Park.
How large is the group?
Groups are limited to no more than 8 participants.
Is the tour wheelchair accessible?
The information provided is conflicting: one note says it is not wheelchair accessible due to using the NYC Subway system, and it also lists wheelchair users as not suitable. Check with the provider if wheelchair access is a requirement.
What language is the guide?
The live tour guide is English.
What is the cancellation policy?
Free cancellation is available up to 24 hours in advance for a full refund.
More Tours in New York City
- Statue of Liberty and Ellis Island Tour: All Options★ 5.0 · 13,571 reviews
- New York in One Day Guided Sightseeing Tour★ 5.0 · 13,166 reviews
- Central Park Pedicab Guided Tours★ 5.0 · 7,108 reviews
- New York City: Manhattan Helicopter Tour★ 4.7 · 7,076 reviews
- Private Central Park Pedicab Tour★ 5.0 · 6,981 reviews
More Tour Reviews in New York City
- NYC: SUMMIT One Vanderbilt Tickets★ 4.7 · 51,195 reviews
- NYC: Empire State Building Tickets – Observatory & Museum★ 4.7 · 25,757 reviews
- New York City: Statue of Liberty & Ellis Island with Ferry★ 4.6 · 18,683 reviews
- New York City: American Museum of Natural History Ticket★ 4.5 · 15,447 reviews
- Statue of Liberty and Ellis Island Tour: All Options★ 5.0 · 13,571 reviews
Your New York City Trip, Shot by a Pro
- NYC Professional Photoshoot and Walking Tour with Private Guide★ 5.0 · 608 reviews
- New York Icon Photography Tour led by a Local Photographer★ 5.0 · 155 reviews
- New York: 1-hour Photoshoot in Iconic Locations★ 5.0 · 101 reviews
- Central Park Photography Tour with Local Photographer★ 5.0 · 85 reviews
- Iconic New York City Photography Tour★ 5.0 · 61 reviews
Just in: the newest New York City reviews on our desk


NYC Photoshoots, compared.
 ★ 5.0NYC Professional Photoshoot and Walking Tour with Private GuideFrom $350608 reviews
 ★ 5.0New York Icon Photography Tour led by a Local PhotographerFrom $125155 reviews
 ★ 5.01-hour Photoshoot in Iconic LocationsFrom $150101 reviews
 ★ 5.0Central Park Photography Tour with Local PhotographerFrom $10085 reviews
 ★ 5.0Iconic New York City Photography TourFrom $19261 reviews
 ★ 5.0Photo sessions in New York with a French-speaking photographerFrom $19660 reviews
 ★ 4.9Your NYC Story in Photos: Custom 2-Hour Tour & Photo ShootFrom $35060 reviews
 ★ 4.8Professional Photoshoot at Brooklyn BridgeFrom $24746 reviews
Browse the lists this tour appears in