
Reviewed · NYC PHOTOSHOOTS
NYC After-Dark Photography Tour
Night streets turn photos into stories.
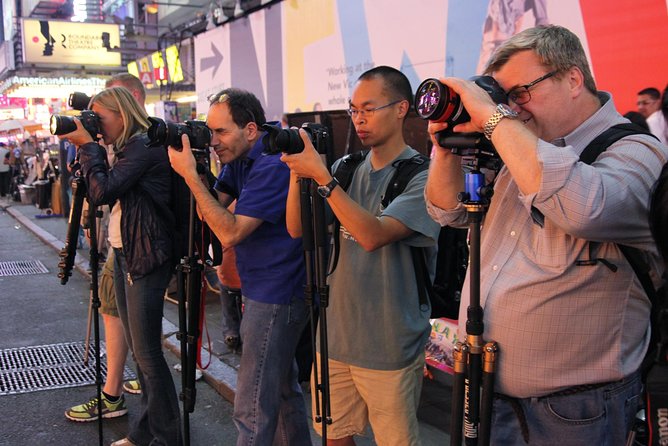
This NYC after-dark photography tour is built for real camera learning, not just wandering with a phone. I like the way you practice long exposure in Times Square with the glitz all around you, and I really enjoyed the instruction on using your camera’s flash in Bryant Park without ruining your night shots. One thing to consider: you move spot to spot, so it’s not a slow, linger-everywhere evening.
What makes it feel worth the $150 price tag is the tight group size and hands-on guidance. With a maximum of 4 travelers, you get actual attention when settings get tricky at night. The main drawback is time: most stops are short, so you’ll want to come with at least a basic comfort level (or be ready to follow directions fast).
In This Review
- Quick reasons this after-dark photo tour works
- Why this NYC night route is so good for learning
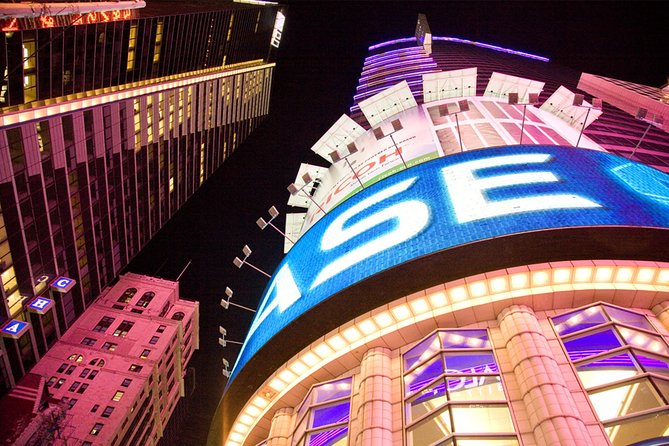
- Starting in Times Square: long exposure with the lights doing the work
- Bryant Park flash practice: how not to look like a tourist
- US Army Recruiting Office stop: photographing a noted Times Square landmark
- The View at ABC Studios: practice with the news ticker look
- Times Square / Theater District crossroads: choosing angles in a crowded grid
- Empire State Building photo time: famous skyline without the ticket assumption
- Who this tour suits best (and who should rethink it)
- Price and value: what $150 buys you in the real world
- The practical vibe: what the evening feels like
- Should you book the NYC after-dark photography tour?
- FAQ
- FAQ
- How long is the NYC After-Dark Photography Tour?
- How much does the tour cost?
- Where does the tour start and end?
- Is hotel pickup or drop-off included?
- Is there a group size limit?
- What kind of tickets are provided?
- Is admission included for the Empire State Building?
- Do I need good weather?
Quick reasons this after-dark photo tour works
- Long exposure coaching in Times Square: Learn how to use slow shutter effects where there’s plenty of light and motion.
- Flash practice in Bryant Park: Train your camera to balance flash with the night environment.
- A compact route with iconic exteriors: You cover big-picture NYC landmarks without paying entry fees at most stops.
- Small group (max 4): More time for the guide to check your setup and help you troubleshoot.
- Tripod-friendly instruction: You’ll get help finding good spots to stabilize shots.
- Brief, focused photo windows: Short stops mean more variety in one evening.
More frames of your trip, shot by a pro
- NYC Professional Photoshoot and Walking Tour with Private Guide
★ 5.0 · 608 reviews - New York Icon Photography Tour led by a Local Photographer
★ 5.0 · 155 reviews - New York: 1-hour Photoshoot in Iconic Locations
★ 5.0 · 101 reviews - Central Park Photography Tour with Local Photographer
★ 5.0 · 85 reviews
Why this NYC night route is so good for learning
If you’ve ever tried night photography and ended up with either a blurry mess or a frame that’s too dark to be useful, you’ll like how this tour teaches the fixes. The route is intentionally chosen for what night photographers actually need: bright light sources for long exposure, and nearby areas where flash doesn’t automatically turn everything flat.
Times Square gives you chaos you can control. Bryant Park gives you a more contained setting where you can see what your flash is really doing. And the rest of the route keeps you surrounded by recognizable views without turning the evening into a checklist of paid attractions.
Also, this is a “bring your camera and learn” kind of tour. The goal is to help you take away techniques you can use later, not just one perfect picture from one spot.
Starting in Times Square: long exposure with the lights doing the work
Your evening begins at Times Square (meeting point at Times Square, New York, NY 10036). From there, you spend about 2 hours practicing long exposure photography, using the lights and moving elements as your raw material.
Times Square is ideal for long exposure because it naturally supplies:
- Plenty of bright signage and storefront light
- Motion from people and cars
- High contrast between illuminated subjects and the darker background
That matters because long exposure is where many beginners get stuck. It’s easy to overdo the exposure and end up with a washed-out image, or to choose shutter speeds that don’t give you the effect you want. Here, you’ll get direction on how to approach the look and where to set up so your shots have a clear subject.
In the feedback you can see a consistent theme: the instructor helps you plan where to stand and how to set up a stable setup. One person specifically noted well-organized ideas for tripods. That’s a big deal. A tripod isn’t optional at night if you’re going for intentional blur and clean light trails.
Bryant Park flash practice: how not to look like a tourist
Next comes Bryant Park, where you spend about 20 minutes. This is a smart switch in technique because long exposure and flash are very different. Long exposure is about letting the camera see longer. Flash is about controlling the light you add.
Bryant Park’s layout helps, too. It’s a 9.6-acre (3.9-hectares) space, which sounds big until you’re there in the middle of an active city. With the guide, you’re not wandering blindly trying to find the “right corner.” Instead, you can stay focused on the photos.
What you’re learning here is practical: how to use flash in a way that improves your frame rather than fighting the night.
Flash photos often fail in a few common ways:
- Skin tones look harsh or too bright
- Backgrounds turn into a dark wall
- Everything looks like the flash was pasted onto the scene
During this stop, you’ll practice to get more balanced results—figuring out how to make the flash work with what’s already in the environment.
One review mentioned learning more about good use of the camera’s built-in flash. So even if you don’t have an external flash, you’ll likely leave with ideas for how to use what you already carry.
Worth a look right next to this New York City pick:
US Army Recruiting Office stop: photographing a noted Times Square landmark
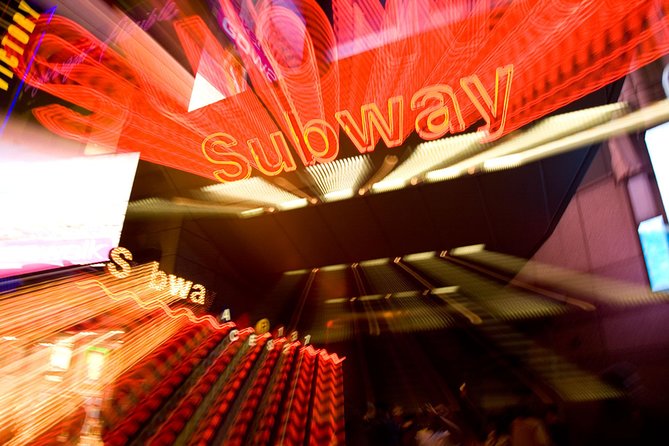
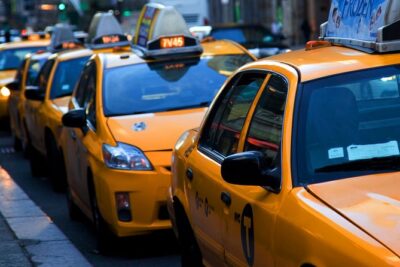
The next photo stop is at the US Army Recruiting Office in Times Square, about 15 minutes. This isn’t about an admission ticket or an interior visit. It’s about framing a well-known stop in the neighborhood and learning how to capture it in the context of Times Square at night.
Why this helps: it trains your eye for composition when you’re surrounded by distractions. Times Square is packed with competing light sources, so you learn to decide what’s the main subject and what’s background noise.
A short time here also keeps you moving. If you’re the type who gets stuck trying to perfect one photo, this kind of stop structure forces you to make quick, confident choices.
The View at ABC Studios: practice with the news ticker look
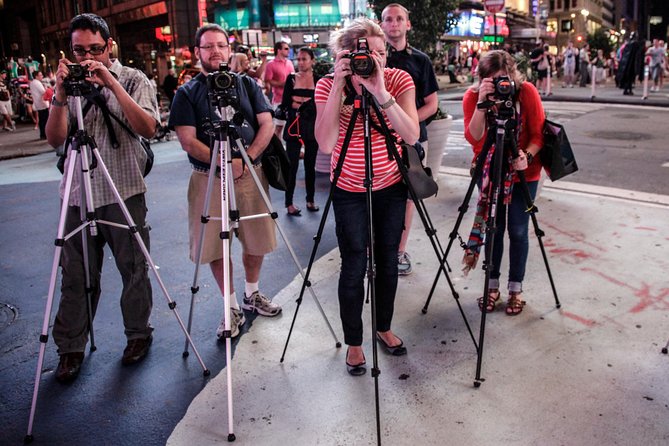
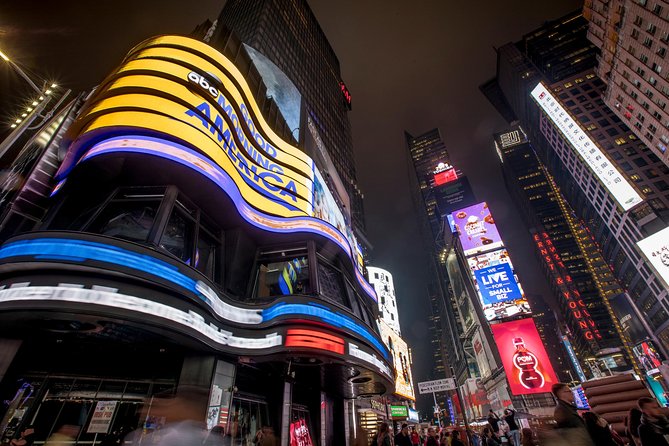
After that, you’ll head to The View at ABC Studios for about 15 minutes. The focus here is specifically on photographing the ABC news ticker in Times Square.
This is a great teaching stop because text and light bars are a real-world night photography challenge. Even if you’re using auto modes, the brightness and motion can confuse the camera. A guide can help you get settings in a workable range so the result looks like something you’d actually want to share.
This also helps your photography beyond “look at the lights.” You’re practicing making a recognizable NYC detail come through clearly, not just a general glow.
Times Square / Theater District crossroads: choosing angles in a crowded grid
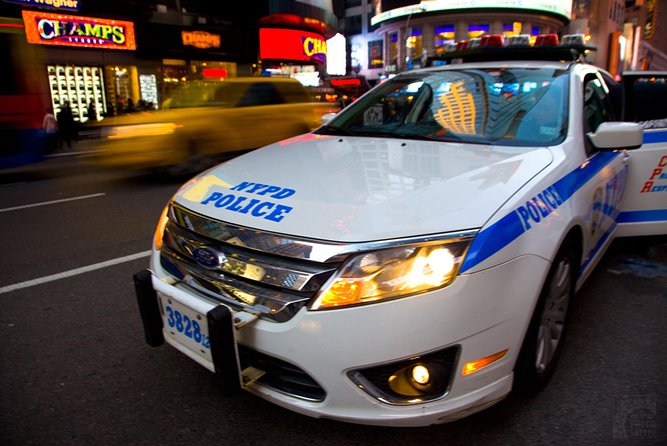
Then you get about 30 minutes in the Times Square / Theater District area. The time is short enough to keep momentum, but long enough to play with angles.
This segment is basically composition training in heavy-duty lighting. You’ll have a chance to reposition, test how your framing looks from different crossroads, and learn how to keep a strong subject even when the streets are busy.
Think of it as learning to control your background. In a night setting, background details can either make the photo feel alive or completely drown the subject. This stop gives you time to figure out which approach works for you.
One piece of feedback called out that this part makes for great photos. The practical reason is simple: crossroads in a grid city give you strong lines for night shots, especially when you’re trying to include enough of the environment to say NYC without losing clarity.
Empire State Building photo time: famous skyline without the ticket assumption
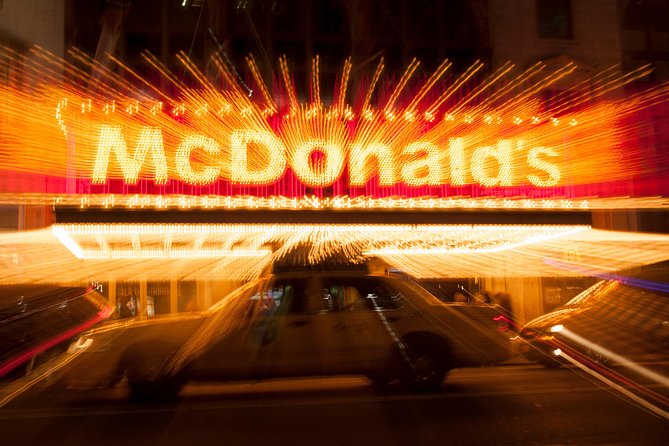
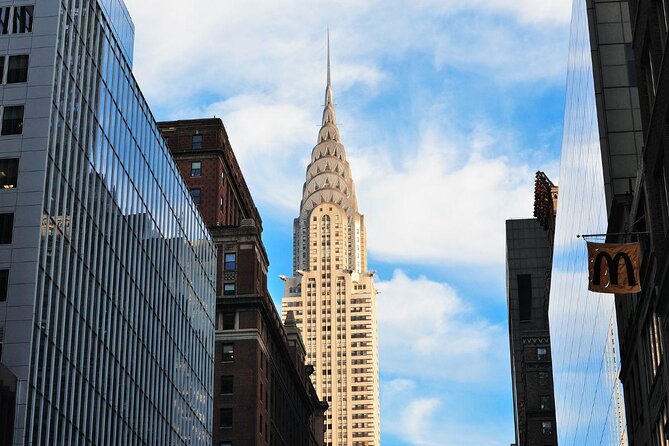
The final named photo moment is at the Empire State Building, with about 15 minutes of photography time. Here’s an important detail: admission is not included. In other words, the tour is set up so you can photograph the building from outside and keep moving.
That’s actually a smart value move. Many night photographers want the iconic skyline shot, but they don’t necessarily want to add extra costs or time-consuming entry decisions at the end of the tour.
This short window is ideal because it helps you get one strong “closing image” before you lose the evening light balance and before crowds start to change where it’s comfortable to shoot.
Who this tour suits best (and who should rethink it)
You’ll enjoy this most if you:
- Want to learn specific camera techniques for night (long exposure and flash)
- Like guided practice with a small group
- Plan to do your own photography later and want real take-home skills
- Enjoy iconic NYC scenes and don’t mind moving briskly
You might want to rethink it if you:
- Only want slow scenic strolling with zero instruction
- Expect long stays at every landmark
- Have no interest in learning settings and just want one casual snapshot
Because the group max is 4 travelers, it tends to work best when people are willing to follow direction and try the technique being taught, even if you don’t nail it on the first shot.
Price and value: what $150 buys you in the real world
At $150 per person for about 4 hours, this tour is priced like an instruction-based experience, not a sightseeing bus stop. The “value” comes from two things the night rewards: expert guidance and time-efficient practice.
With a professional photographer guide, you’re paying for:
- Learning how to approach long exposure in a bright, chaotic scene
- Training your flash use so your images improve instead of looking harsh
- Help with the practical parts that slow down beginners (where to stand, how to set up, how to stabilize)
You’re also getting local taxes included, and you’re not paying admission fees for most stops. The only explicitly noted exception is the Empire State Building, where admission is not included. That means your money stays focused on technique rather than attraction tickets.
If you were going to try night photography on your own, you’d spend that same money anyway on trial-and-error time, extra gear, and probably a few “why is this blurry?” moments. Here, you’re compressing the learning curve.
The practical vibe: what the evening feels like
This is not a big, loud group. With up to 4 travelers, the tour feels more like a photo lesson with quick walks between scenes. That small size matters when you need help. Night photography is unforgiving: one change in shutter speed or exposure can swing the outcome fast, and you want feedback while you’re still in the same lighting situation.
The tour also keeps you moving in a logical pattern:
- Start bright and practice long exposure
- Switch to a controlled night setting for flash
- Capture recognizable landmark details
- End with an iconic skyline photo
If you like structured freedom—meaning you get a plan but still have time to work your own shots—this route fits.
Should you book the NYC after-dark photography tour?
I’d book it if you want to learn night photography the efficient way. The combination of Times Square long exposure, Bryant Park flash practice, and a route packed with recognizable NYC cues is exactly what makes a photo tour feel worth paying for. Plus, the small group size and the fact that the guide is working with different camera types (not just one preset) makes it easier for most people to participate.
I’d skip it if you’re looking for a low-effort casual stroll or you’re expecting long landmark time. This evening is about technique windows, not an all-night photo camp.
FAQ
FAQ
How long is the NYC After-Dark Photography Tour?
It’s about 4 hours (approx.).
How much does the tour cost?
The price is $150.00 per person.
Where does the tour start and end?
It starts and ends at Times Square, New York, NY 10036, USA.
Is hotel pickup or drop-off included?
No, hotel pickup and drop-off are not included.
Is there a group size limit?
Yes. The tour has a maximum of 4 travelers.
What kind of tickets are provided?
A mobile ticket is provided.
Is admission included for the Empire State Building?
No. Admission for the Empire State Building is not included.
Do I need good weather?
Yes. The experience requires good weather. If it’s canceled due to poor weather, you’ll be offered a different date or a full refund.
More Tours in New York City
- Statue of Liberty and Ellis Island Tour: All Options★ 5.0 · 13,571 reviews
- New York in One Day Guided Sightseeing Tour★ 5.0 · 13,166 reviews
- Central Park Pedicab Guided Tours★ 5.0 · 7,108 reviews
- New York City: Manhattan Helicopter Tour★ 4.7 · 7,076 reviews
- Private Central Park Pedicab Tour★ 5.0 · 6,981 reviews
More Tour Reviews in New York City
- NYC: SUMMIT One Vanderbilt Tickets★ 4.7 · 51,195 reviews
- NYC: Empire State Building Tickets – Observatory & Museum★ 4.7 · 25,757 reviews
- New York City: Statue of Liberty & Ellis Island with Ferry★ 4.6 · 18,683 reviews
- New York City: American Museum of Natural History Ticket★ 4.5 · 15,447 reviews
- Statue of Liberty and Ellis Island Tour: All Options★ 5.0 · 13,571 reviews
Your New York City Trip, Shot by a Pro
- NYC Professional Photoshoot and Walking Tour with Private Guide★ 5.0 · 608 reviews
- New York Icon Photography Tour led by a Local Photographer★ 5.0 · 155 reviews
- New York: 1-hour Photoshoot in Iconic Locations★ 5.0 · 101 reviews
- Central Park Photography Tour with Local Photographer★ 5.0 · 85 reviews
- Iconic New York City Photography Tour★ 5.0 · 61 reviews
Just in: the newest New York City reviews on our desk

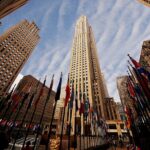
NYC Photoshoots, compared.
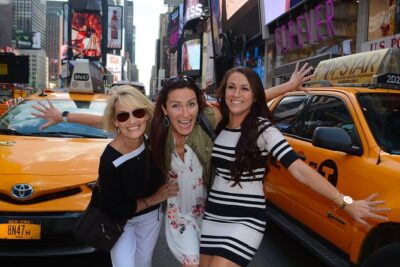 ★ 5.0NYC Professional Photoshoot and Walking Tour with Private GuideFrom $350608 reviews
 ★ 5.0New York Icon Photography Tour led by a Local PhotographerFrom $125155 reviews
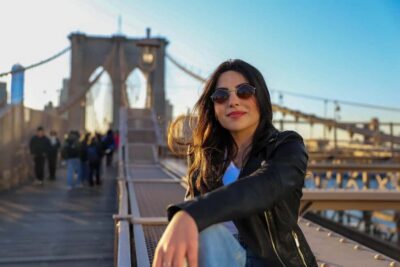 ★ 5.01-hour Photoshoot in Iconic LocationsFrom $150101 reviews
 ★ 5.0Central Park Photography Tour with Local PhotographerFrom $10085 reviews
 ★ 5.0Iconic New York City Photography TourFrom $19261 reviews
 ★ 4.9Your NYC Story in Photos: Custom 2-Hour Tour & Photo ShootFrom $35060 reviews
 ★ 5.0Photo sessions in New York with a French-speaking photographerFrom $19660 reviews
 ★ 4.8Professional Photoshoot at Brooklyn BridgeFrom $24746 reviews
Browse the lists this tour appears in