
Reviewed · CENTRAL PARK TOURS
NYC Central Park Night Time Photography Tour
Night Central Park turns familiar places into puzzles. I love the small-group coaching and the chance to photograph Bethesda Fountain with long exposure. The main catch: you must bring your own tripod for steadier night shots.
You start at 8:30 pm at Pulitzer Fountain, then you work landmark to landmark while the park glows under real city lighting. With a max of 6 travelers, the guide can slow down for questions and keep you pointed at the right spots.
This is built around getting practical nighttime photography basics—so you’re not just walking in the dark. You’ll finish near Bethesda Terrace, with a stronger sense of how to frame, focus, and expose when light gets scarce.
In This Review
- Key highlights you’ll feel fast
- Why Central Park looks better after sunset
- 8:30 pm meeting at Pulitzer Fountain: what to expect right away
- Bethesda Fountain long exposure: the stop that teaches the most
- The Plaza and Central Park bridge: short stops, strong frames
- Shooting the Manhattan skyline from the Dairy Visitor Center
- Bethesda Terrace after dark: architecture with control
- The Mall and Literary Walk, plus Naumburg Bandshell
- The final Central Park night walk: turning practice into results
- Value and who this tour fits best (and who should skip)
- Should you book this Central Park night photography tour?
- FAQ
- What time does the tour start?
- Where do you meet for the Central Park night photography tour?
- How long is the tour?
- How much does it cost?
- Is admission included?
- What language is the tour offered in?
- How many people are in the group?
- Do I need to bring a tripod?
- What’s the cancellation policy?
- What’s included besides the guide?
Key highlights you’ll feel fast
- Up to 6 people keeps the group manageable and helps you get hands-on feedback
- Bethesda Fountain long-exposure time gives you a clear, teachable night-photo target
- Manhattan skyline practice from park viewpoints helps you shoot city light without guessing
- Night-focused guide coaching centers on what to do when it’s dark and contrast changes
- Bring-your-own tripod is required, so plan gear before you go
- Central Park entry included so you can focus on shooting instead of tickets
More ways to see Central Park
- Central Park Pedicab Guided Tours
★ 5.0 · 7,108 reviews - Private Central Park Pedicab Tour
★ 5.0 · 6,981 reviews - NYC: Central Park Bike Rentals
★ 4.2 · 2,528 reviews - Official NYC Horse Carriage Rides in Central Park since 1979 ™
★ 5.0 · 2,365 reviews
Why Central Park looks better after sunset
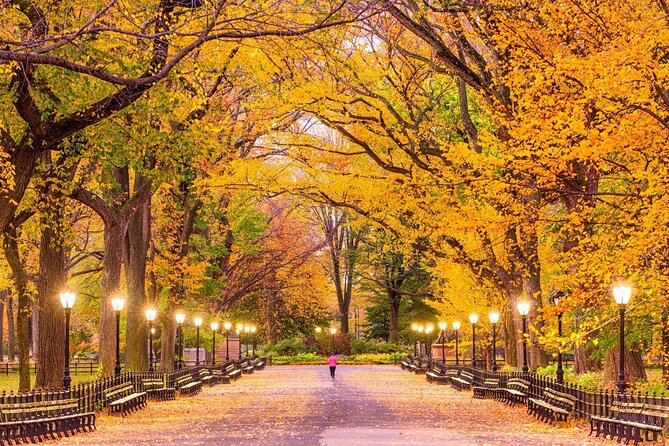
Central Park at night feels like a different park, not a watered-down version of daytime. The big structures—fountains, terraces, fountains again (yes), and classic paths—turn into shapes you can frame with less visual clutter.
Night also forces better habits. Instead of counting on daylight for clear edges, you learn to think in light: where the bright points are, how reflections behave, and what changes when you use longer exposures. You’ll also get the “New York” part of the city—those skyline hints—without needing to leave the park.
A big plus here is that the tour is designed for shooting, not just sightseeing. You’ll stop at specific places where long exposure and low-light compositions make sense, including the fountain and multiple skyline-looking viewpoints.
8:30 pm meeting at Pulitzer Fountain: what to expect right away
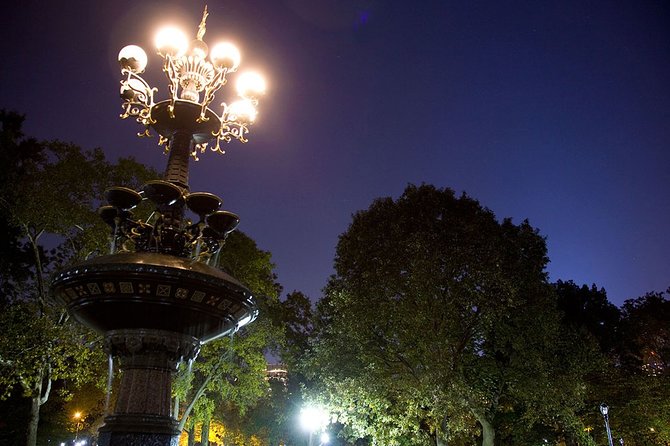
You meet at Pulitzer Fountain, 764 Central Park S, at 8:30 pm, and that timing matters. You’re in position to work through the park while the light is still usable but the darkness has set in—ideal for learning without waiting too long for everything to go pitch black.
You’ll get a mobile ticket, and the tour runs in English with a professional photographer guide. The whole experience is built for small-group attention, so you’re not stuck repeating questions while everyone else rushes ahead.
Here’s what I’d plan before you arrive:
- Bring a camera you can manually control (or at least adjust key settings).
- Charge batteries fully. Night photography eats power.
- Decide what you’ll do for stability. The tour does not provide a tripod, so if you want smoother long-exposure results, you’ll need one.
One more practical point: the tour is rated for moderate physical fitness and includes walking. It’s not a marathon, but you are moving in a dark park. Wear shoes you trust.
Bethesda Fountain long exposure: the stop that teaches the most
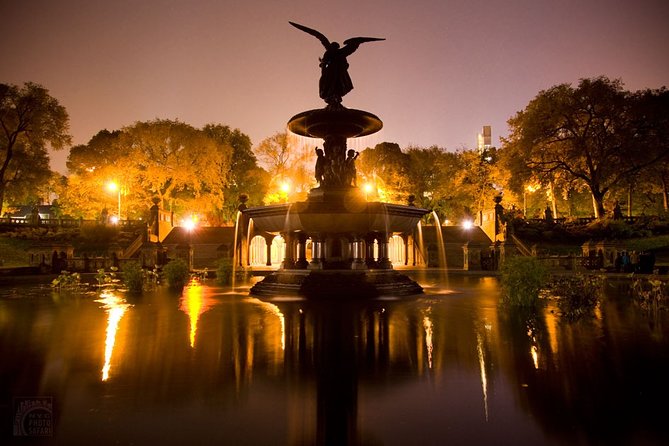
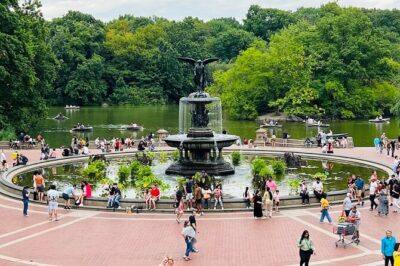
This is the star teaching moment: Bethesda Fountain at night, with long exposure time set aside for you to work the scene. Long exposure is where night photography goes from snapshots to images with mood—smoothness in water, stronger presence in architecture, and a more intentional look.
You’ll spend about 20 minutes on this stop, which is just enough time to try a few approaches without the group losing momentum. In a setting like this, your guide’s job is to help you avoid the most common night traps: blurry shots from camera shake and inconsistent brightness from guessing exposure.
Expect the guide to steer you toward steadier, cleaner results. If you brought a tripod (you’ll want to), you can focus on small refinements like composition and timing rather than constantly re-stabilizing your shot.
Also, because it’s Central Park, the fountain is surrounded by classic geometry. That matters at night. Symmetry and strong lines become easier to control when the background is darker and highlights stand out.
More frames of your trip, shot by a pro
The Plaza and Central Park bridge: short stops, strong frames
You’ll also hit The Plaza, very close to where you’re starting, plus a moment for one of the park’s most notable bridges. These are fast stops, and that’s the point.
When you only have a few minutes at a location, you learn the discipline of night photography: pick a composition quickly, set your camera for the light you’re seeing, and shoot a tight set of frames instead of wandering and guessing.
Here’s what makes these stops valuable for you, even if you don’t think of them as “big photo landmarks”:
- They let you practice without burning your best energy at just one spot.
- They show you how different angles change how city light hits the park.
- They give you quick feedback loops: try, adjust, and move.
The bridge stop is especially useful because bridges create leading lines. In low light, those lines guide the viewer’s eye, and city reflections can add depth if the conditions line up.
Shooting the Manhattan skyline from the Dairy Visitor Center
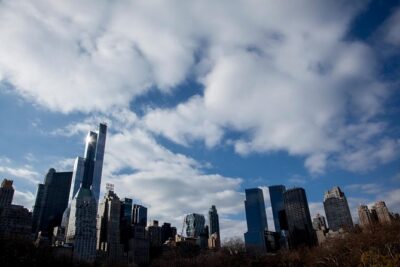
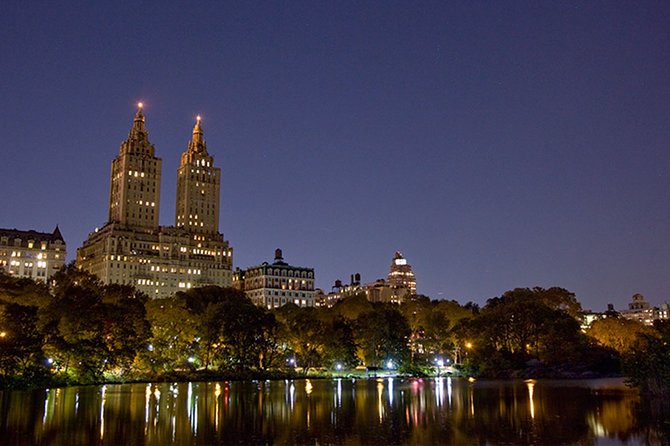
One of the best learning outcomes of this tour is that it doesn’t only focus on famous monuments. It pushes you toward the Manhattan skyline, especially from the Dairy Visitor Center and Gift Shop area.
You get about 15 minutes here, and the skyline angle is key because you’re working with two light sources at once: bright distant city lights and darker park foreground. That’s a real-world night-photo scenario, not a theoretical one.
A skyline shot at night can be tricky. Too much exposure washes out highlights. Too little exposure turns everything into silhouettes. This is exactly the type of problem nighttime photography training helps with—so you come away with a feel for how to balance brightness.
If you want one practical tip before you go: treat the skyline like your “background subject.” Your best results often come from choosing a foreground element (a railing, a walkway edge, or terrace details) and letting the skyline do the heavy lifting behind it.
Bethesda Terrace after dark: architecture with control
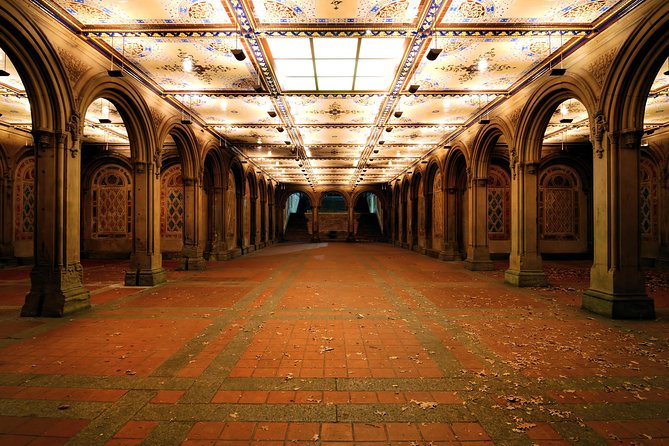
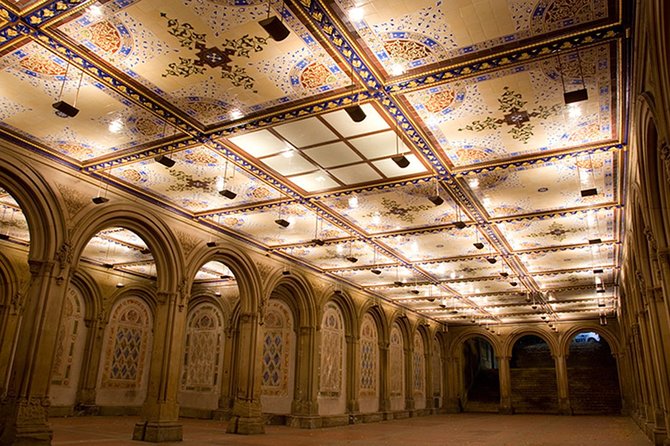
Next up is Bethesda Terrace, where you’ll get roughly 30 minutes. This is longer than a quick photo stop, which gives you time to work the terrace the way photographers do: try variations, then narrow in.
Terrace lighting at night is all about texture and edges. Stone details, balustrades, and the way light falls across surfaces can make a photo feel sharp and intentional. It’s also a great place to practice composition because the structure offers natural framing.
The long stop matters. In two hours total, you want at least one or two places where you can slow down and actually test. Bethesda Terrace is your chance to do that—unhurried enough to get more than one decent keeper.
The Mall and Literary Walk, plus Naumburg Bandshell
You’ll also pass through a trio of stops that are perfect for small compositions and creative practice: The Mall and Literary Walk, Naumburg Bandshell, and the broader Central Park paths in between.
- The Mall and Literary Walk gets about 15 minutes. This is where you can work with repeating shapes and pathways. At night, those patterns can look dramatic, and they’re great for practicing consistency from frame to frame.
- Naumburg Bandshell is a brief stop, around 5 minutes. Think of it as a “grab the shot” moment—one where you use what you learned from the fountain and terrace and apply it quickly.
These shorter stops help you learn something important: night photography isn’t only about monuments. It’s about making strong images from ordinary viewpoints once the light changes.
The final Central Park night walk: turning practice into results
You end with more shooting time in Central Park—about 2 hours of total tour time is built around helping you capture the park under low light, not just pass through it. This final stretch matters because it’s where your earlier lessons start to click.
By now, you’ve had practice at a long-exposure subject (Bethesda Fountain) and at architecture/structure subjects (terrace and major stops). That gives you a base. Now you apply it to the larger feel of the park at night: how paths curve, how distant lights punctuate the darkness, and how to frame without daylight reference points.
One of the best outcomes I’d expect you to take home is a calmer approach. Night photography can feel chaotic because everything is darker and more contrasty. A good guide turns that into steps you can repeat:
- Choose your subject fast.
- Stabilize properly (tripod helps).
- Shoot enough variations to account for exposure surprises.
Value and who this tour fits best (and who should skip)
At $150 per person for about 2 hours, the value here comes from three things: a professional photographer guide, small-group size (max 6), and Central Park entry included. For night photography, coaching matters because small changes in technique can make the difference between a blurry mess and a standout image.
This is also a smart deal if you’re trying to learn basics without a full workshop day. You’ll get focused stops, teachable moments, and a structured route that’s actually compatible with low-light shooting.
Who it suits well:
- You’re a beginner who wants guidance for night settings.
- You’re an enthusiast who already shoots, but wants a route and feedback that’s specific to night in Central Park.
- You’re the type who likes to practice in one place and collect usable results.
Who might hesitate:
- You don’t want to carry or set up a tripod. The tour explicitly requires bringing your own tripod.
- You’re expecting a purely easy, wander-and-photos style hike. This is short stops plus instruction—less “free roam.”
Should you book this Central Park night photography tour?
If you want night photos that look like you planned them, not like you bumped into them, I think this is a strong pick. The small group size and professional guide coaching are the real engines, and the inclusion of long-exposure time at Bethesda Fountain gives you a clear path to better results.
Book it if you’re ready to bring a tripod and you like structured practice in a famous setting. Skip it if you want a flexible sightseeing-only walk or you’re unwilling to do the stability work that night photography demands.
FAQ
What time does the tour start?
The tour starts at 8:30 pm.
Where do you meet for the Central Park night photography tour?
You meet at Pulitzer Fountain, 764 Central Park S, New York, NY 10019.
How long is the tour?
The tour runs for about 2 hours.
How much does it cost?
It costs $150.00 per person.
Is admission included?
Central Park entry is included. Other stops are listed as free.
What language is the tour offered in?
The tour is offered in English.
How many people are in the group?
The tour has a maximum of 6 travelers.
Do I need to bring a tripod?
Yes. Tripod is not included, so you must bring your own if you want to shoot steady long-exposure images.
What’s the cancellation policy?
You can cancel for a full refund up to 24 hours before the experience’s start time.
What’s included besides the guide?
The tour includes a professional photographer guide, all taxes/fees, Central Park admission, and photo-focused stops such as shots of Bethesda Fountain and the Manhattan skyline.
More Tour Reviews in New York City
- NYC: SUMMIT One Vanderbilt Tickets★ 4.7 · 51,195 reviews
- NYC: Empire State Building Tickets – Observatory & Museum★ 4.7 · 25,757 reviews
- New York City: Statue of Liberty & Ellis Island with Ferry★ 4.6 · 18,683 reviews
- New York City: American Museum of Natural History Ticket★ 4.5 · 15,447 reviews
- Statue of Liberty and Ellis Island Tour: All Options★ 5.0 · 13,571 reviews
Your New York City Trip, Shot by a Pro
- NYC Professional Photoshoot and Walking Tour with Private Guide★ 5.0 · 608 reviews
- New York Icon Photography Tour led by a Local Photographer★ 5.0 · 155 reviews
- New York: 1-hour Photoshoot in Iconic Locations★ 5.0 · 101 reviews
- Central Park Photography Tour with Local Photographer★ 5.0 · 85 reviews
- Iconic New York City Photography Tour★ 5.0 · 61 reviews
More of Central Park
- Central Park Pedicab Guided Tours★ 5.0 · 7,108 reviews
- Private Central Park Pedicab Tour★ 5.0 · 6,981 reviews
- NYC: Central Park Bike Rentals★ 4.2 · 2,528 reviews
- Official NYC Horse Carriage Rides in Central Park since 1979 ™★ 5.0 · 2,365 reviews
- NYC: Central Park Bike Rental★ 4.1 · 1,651 reviews
Just in: the newest New York City reviews on our desk
Central Park Tours, compared.
 ★ 5.0Central Park Pedicab Guided ToursFrom $387,108 reviews
 ★ 5.0Private Central Park Pedicab TourFrom $386,981 reviews
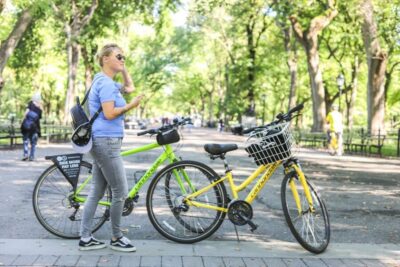 ★ 4.2Central Park Bike RentalsFrom $92,528 reviews
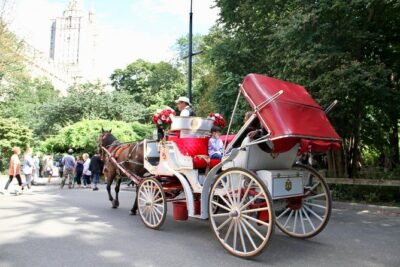 ★ 5.0Official NYC Horse Carriage Rides in Central Park since 1979 ™From $992,365 reviews
 ★ 4.1Central Park Bike RentalFrom $81,651 reviews
 ★ 4.9Private Central Park Pedicab TourFrom $401,637 reviews
 ★ 4.7Central Park Bike RentalFrom $91,509 reviews
 ★ 4.0Carriage Ride in Central Park (VIP – PRIVATE) Since 1964™From $141,074 reviews
Browse the lists this tour appears in